Integration with Cocos2d-x
This comprehensive guide will walk you through setting up the X3M SDK for Cocos2d-x, from prerequisites to initialization.
Prerequisites
- A Cocos2d-x (C++) project set up
- Android:
- Min SDK Version
23or higher - Compile SDK Version
34or higher - Android Gradle Plugin
8.6.1or higher
- Min SDK Version
- iOS:
- Xcode
16.2or higher. - iOS
13.0or higher.
- Xcode
Get Your Configuration
Once the application is registered in the system and its status is set to RUNNING, the configuration details can be obtained. These details will be used when setting up ads in the application.
To obtain this configuration, log in with your credentials to the admin panel. Navigate to Applications click on the name of the application you're integrating
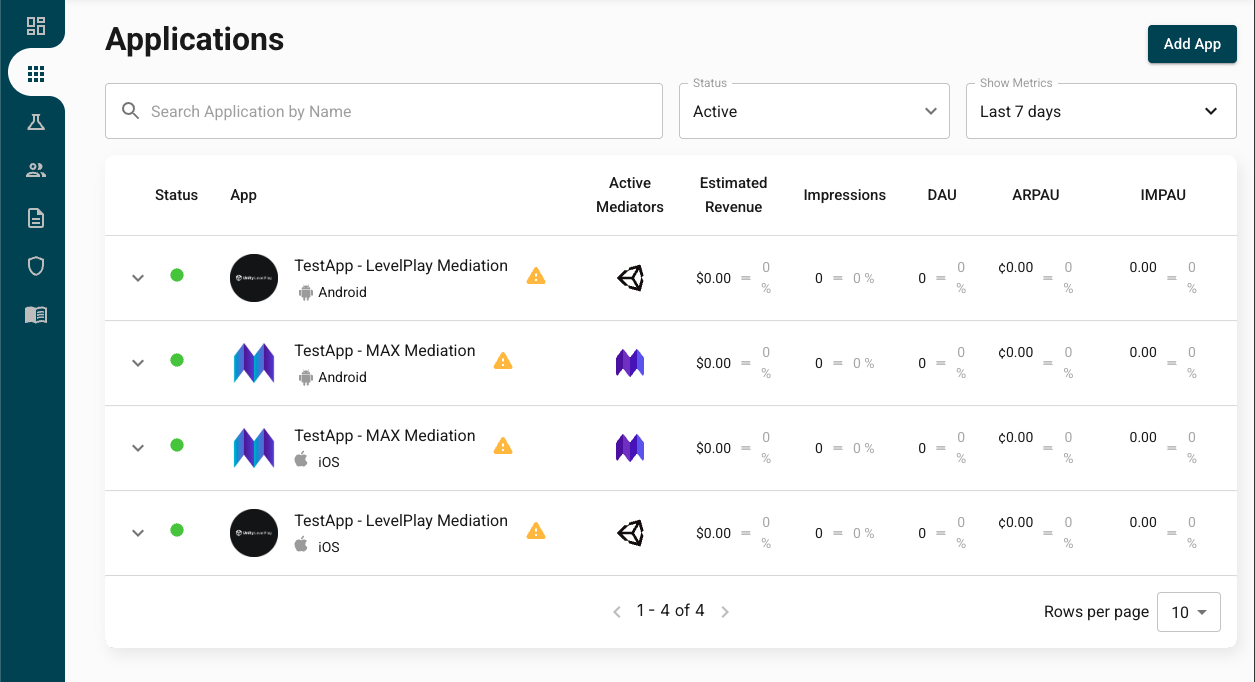
After clicking on the name of the application you'll find the information in the App Details tab.
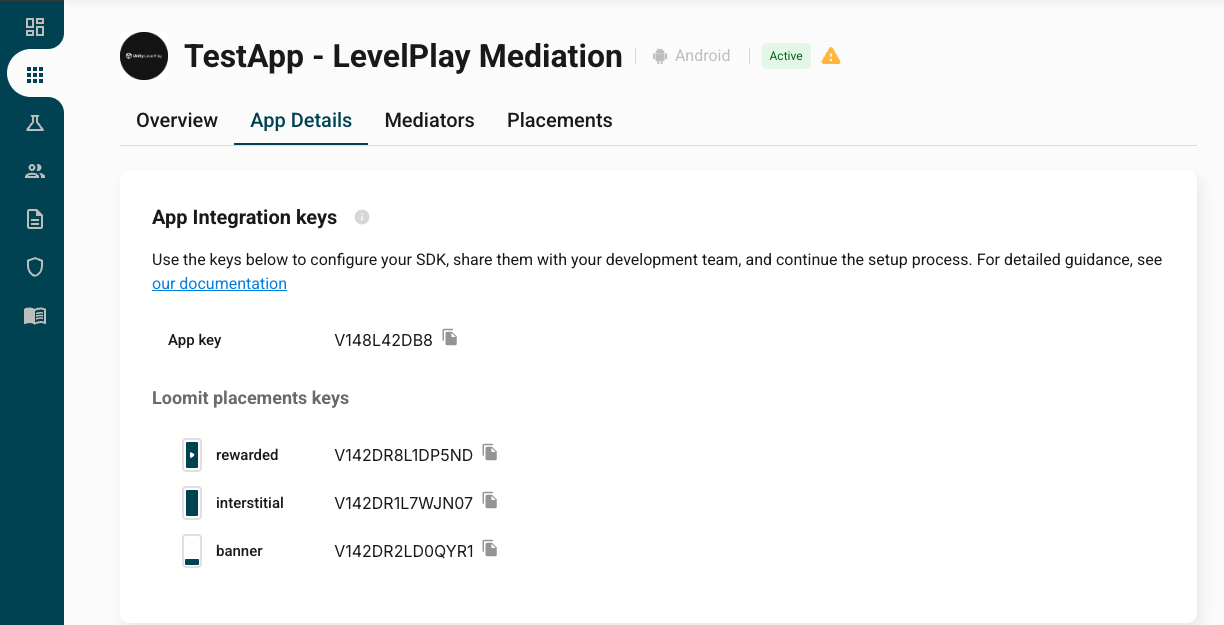
If the application is not yet in the RUNNING status, the integration can be performed using the test IDs. Once the application is configured, replace the test IDs with the production IDs obtained in this step.
Add X3M SDK and Loomit Adapters
Platform Setup
Cocos2d-x projects use native Android and iOS targets. Add XMediator and Loomit adapters to each platform by following the platform guides:
- Android
- iOS
X3M's Maven Repository
In the project level gradle configuration file, include X3M's Maven repository:
- build.gradle
- build.gradle.kts
allprojects {
    buildscript {
        // [...]
    }

    repositories {
        // [...]

        maven { url "https://android-artifact-registry.x3mads.com/maven" }
    }
}
allprojects {
    buildscript {
        // [...]
    }

    repositories {
        // [...]

        maven {
            url = URI("https://android-artifact-registry.x3mads.com/maven")
        }
    }
}
XMediator Core Dependency
In the app-level gradle configuration file, add the following dependency:
- app/build.gradle
- app/build.gradle.kts
dependencies {
    implementation 'com.x3mads.android.xmediator:cocos2dx:+'
}
dependencies {
    implementation("com.x3mads.android.xmediator:cocos2dx:+")
}
Add Your Google Ads App ID to Android Manifest
XMediator utilizes Google Ads services to obtain the GAID (Google Advertising ID) required by some mediation networks to serve ads.
In your app's manifest add the following metadata with your own Google Ads App ID obtained in the previous step:
- app/src/main/AndroidManifest.xml
<?xml version="1.0" encoding="utf-8"?>
<manifest xmlns:android="http://schemas.android.com/apk/res/android">
    <application>
        <!-- [...] -->

        <meta-data
            android:name="com.google.android.gms.ads.APPLICATION_ID"
            android:value="ca-app-pub-xxxxxxxxxxxxxxxx~yyyyyyyyyy" />

    </application>
</manifest>
Cocoapods Setup
We recommend using Cocoapods to integrate the SDK. Open your Podfile and add this line at the beginning:
source 'https://github.com/x3mads/podspecs.git'
source 'https://cdn.cocoapods.org/'
You will also need to add the following line inside your app's target:
pod 'XMediatorCocos2dx'
Finally, run from the command line:
pod install --repo-update
Choose Mediators and Networks
Use the pickers below to generate compatible dependencies for your selected ad networks and mediation SDKs on each platform.
- Android
- iOS
Add the snippet inside your Podfile and run from the command line:
pod install --repo-update
If you select GoogleAds as dependency, do not forget to add the GADApplicationIdentifier to your app's Info.plist.
If you're looking to integrate an ad network that isn't currently listed, please contact our team or your account representative to discuss support and integration options.
Initialize the SDK
Before requesting any ad, make sure to call XMediatorAds.startWith() (or platform equivalent). This method configures your application Key, and fetches the required configuration parameters for the ad placements in your app, among other things.
Additionally, you may want to wait for the initialization callback to complete. This will ensure that your placement requests have the necessary prebid configurations.
If you previously used a different mediation platform, remove any related initialization and configuration code, and ensure there is no interaction with any of its code while Loomit is active.
Example Implementation
This method configures your application and fetches the required configuration parameters for the ad placements in your app, among other things.
#include "x3mads/XMediatorAds.hpp"
// Build InitSettings.
x3mads::InitSettings initSettings;
initSettings.test = false;
initSettings.verbose = false;

// Optional user properties
x3mads::UserProperties userProps;
userProps.userId.set("<your-user-id>");

x3mads::CustomProperties custom;
custom.addString("key1", "initialValue");
custom.addLong("key2", 100);
custom.addBool("key3", true);
userProps.customProperties.set(custom);

initSettings.userProperties.set(userProps);

// Initialize the SDK
x3mads::XMediatorAds::getInstance()->startWith(
    "<your-app-key>",
    initSettings,
    [](const x3mads::InitResult& result) {
        CCLOG("Initialization complete! You can start loading your placements!");
    }
);
If you previously used a different mediation platform, remove any related initialization and configuration code, and ensure there is no interaction with any of its code while Loomit is active.
To ensure the SDK is correctly configured before ad mediation begins, any method that performs an ad request will raise an exception if they are called before x3mads::XMediatorAds::startWith() is invoked.
It is mandatory to wait for the init callback to complete before making any ad request.
Update User Properties
After the SDK has been initialized, you can update the user properties (and custom properties) at any time. You may modify, add, or remove properties as needed.
To ensure you do not overwrite the entire configuration, always follow these steps:
- Retrieve the current user properties.
- Edit only the properties you want to change using the editor.
- Pass the updated properties to
setUserPropertiesto apply your changes.
Below you can see how to do this:
// Retrieve current user properties, update and set them back
auto* sdk = x3mads::XMediatorAds::getInstance();
x3mads::UserProperties current = sdk->getUserProperties();

// Start from existing CustomProperties if present
x3mads::CustomProperties custom;
if (current.customProperties.hasValue()) {
    custom = current.customProperties.value();
}

// Update key1
custom.addString("key1", "updatedValue");

// Remove key2 (if present)
custom.removeValue("key2");

// Add key4 as a string array
std::vector<std::string> key4;
key4.push_back("new1");
key4.push_back("new2");
custom.addArray("key4", key4);

current.customProperties.set(custom);
sdk->setUserProperties(current);
SKAdNetwork (iOS)
Add the SKAdNetwork IDs for the networks you selected above to your app's Info.plist by following the instructions .